A Beginner’s Guide to Canning and Preserving. Check out my youtube for the full tutorial!

What Is Water Bath Canning?
Water bath canning is a process of preserving prepared food by packing it into jars with self-sealing lids and submerging the jars in boiling water for a set amount of time to create an airtight seal and kill any bacteria and prevent contamination.
Once the jars are removed from the boiling water, the heat and oxygen escape through the lids, creating a vacuum seal. When you correctly water bath a glass jar, the food will store in your pantry for 1 year.
Although water bath canning is easy to do, it’s important to make sure you do your research. This can be dangerous, and you want to ensure you don’t waste the food you hope to preserve.
Not all foods can be canned. Foods such as jams and jellies with the right amount of acid and sugar in work perfectly for this method. Low acid foods such as green beans and meats, on the other hand, need to be canned with a pressure cooker, and heated to a much higher degree than with water bath canning.
Getting Started
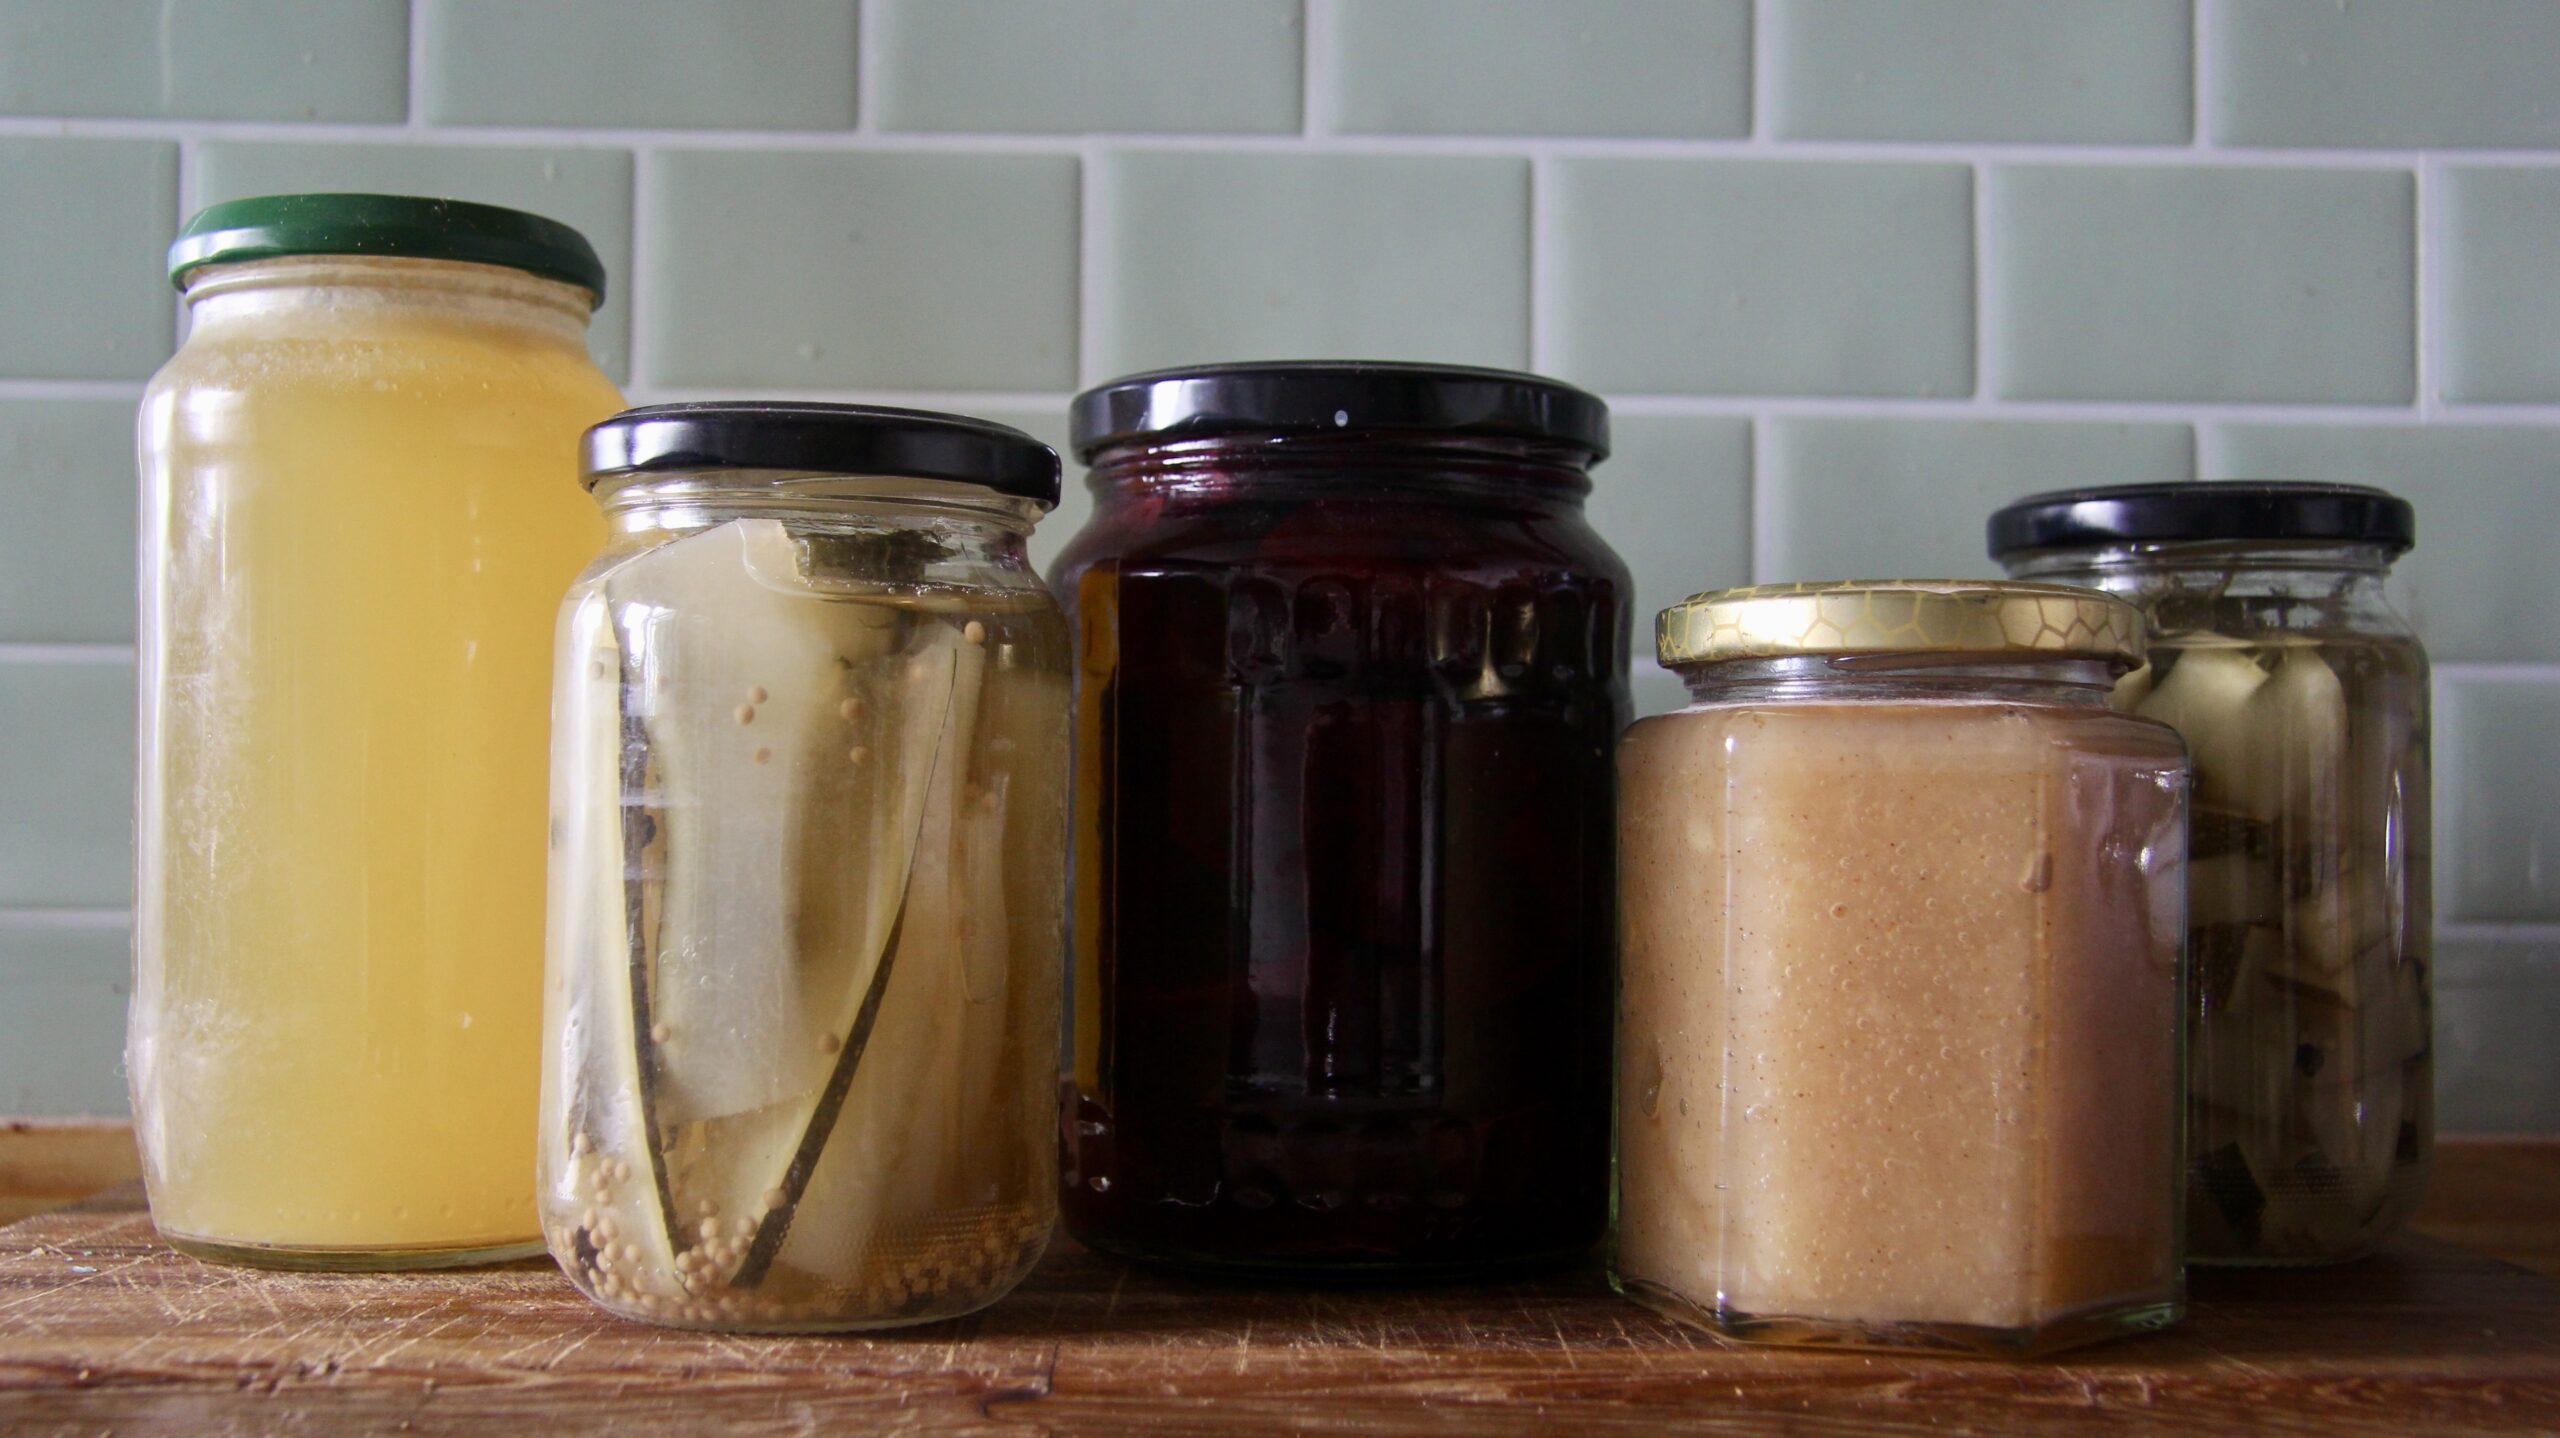
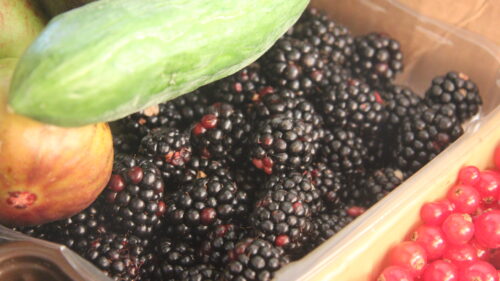
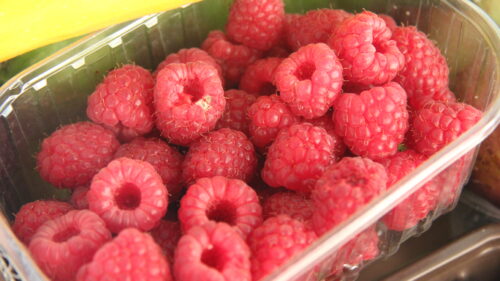
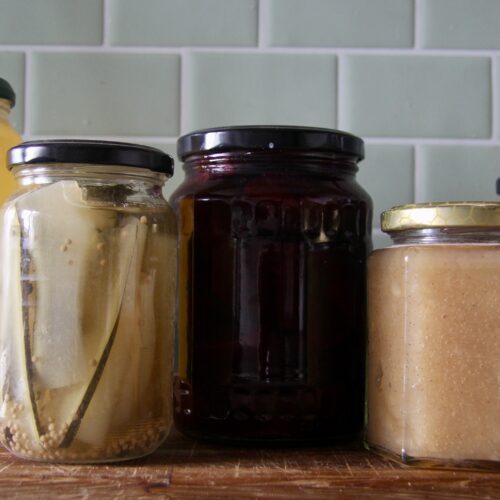
You should begin by deciding what’s going into the jars. A harvest of summer fruits and berries are always perfect for jams. You can even use store bought foods such as fruits, beetroots, carrots etc! If you decide to buy the food, try to source organic produce.
Save all of your empty pasta sauce jars, jam jars, and ask your family and friends too as well! You will soon run out of jars once you start canning, and this will save you a lot of money!
Equipment:
The investment in water bath canning supplies can be expensive, but there are now kits designed for beginners. I reccomend doing your research, and investing depending on how often you plan to can.
Canning tongs are helpful for removing jars after they’ve been processed, I use regular tongs but this isn’t the best technique and can easily let the jars slip!
Filling Jars
All Jars should be washed and dried before they are filled. If you are unsure of any steps, please check out my video linked below.
A funnel makes the filling step much easier, unless your pickling port has an easy to pour spout. You can also pour using a measuring jug!
Wipe the rims of the jars with a tissue dabbed in vinegar. This ensures the seal will be clear of any debris or bacteria.
Place the warm lids onto the rims and screw the rings firmly into place before putting in the canner.
Processing
Make sure the water level in the kettle will fully cover the tops of the jars by 1 inch. Bring the water to a rolling boil. Set the timer for at least 15 minutes.
Final Steps
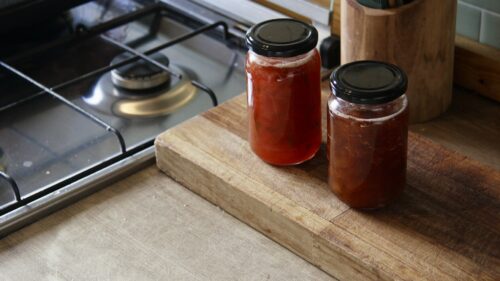
Once the processed jars have been removed from the canner, let them sit, for at least an hour. As the jars cool, the lids should become sunken in the center and you may hear a little “pop,” indicating the lids have sealed.
If they don’t seal, refrigerate the preserved food or try using another lid and going through the water bath process again.
Make sure you label your jars, and include the date they was canned. I use a sharpie and label the bottom. This can be removed with alcohol and reused.
I may receive a small commission for items purchased through affiliate links in this post at no additional cost to you.
Check out some recipes!
A Beginner’s Guide to Canning and Preserving {with video}
Instructions
What Is Water Bath Canning?
- Water bath canning is a process of preserving prepared food by packing it into jars with self-sealing lids and submerging the jars in boiling water for a set amount of time to create an airtight seal and kill anything that would cause the food to spoil, such as bacteria and enzymes. After the jars are removed from the boiling water, the heat and oxygen escape through the lids, creating a vacuum seal. When the appropriate foods are processed correctly using water bath canning, they can be stored on your pantry shelf for later enjoyment for about a year. You will hear a ‘pop’ once removed from the water bath, which is your lids sealing.
- Although water bath canning itself is easy to do, it's important to make sure you do it right. You have to start with the right kind of recipe, boil the right size jar for the correct amount of time, and even adjust the processing time based on your altitude.
- Not all foods are good for water bath canning. Foods such as jams and jellies with the right amount of acid and sugar in work perfectly for this method. Low acid foods such as green beans and meats, on the other hand, need to be canned with a pressure cooker, and heated to a much higher degree than with water bath canning.
Getting Started
- You should begin by deciding what's going into the jars. A harvest of summer fruits and berries are always perfect for jams, but you can use store bough produce. I recommend purchasing organic, or locally sourced if possible!
The Ingredients
- Choose the freshest fruits and vegetables available. And try to avoid overripe or under-ripe fruits, which can affect the acidity and stability of the final product.
- Pectin, an essential gelling agent, is found naturally in many fruits. Most jam and jelly recipes call for added pectin. Preserves made without pectin must be cooked longer, depending upon the amount of natural pectin in the fruit. You can also add geletin if you want a 'jellied' texture.
The Equipment
- The investment in water bath canning supplies can be expensive, but there are kits designed for beginners.
- Special canning tongs are helpful for removing jars after they’ve been processed, I use regular tongs but this isnt the best technique!
Filling Jars
- In recent years, canning experts have noted that the practice of sterilising jars and lids is not necessary because any harmful bacteria will be eliminated during the water bath process.
- Jars should be washed and dried before they’re filled.
- A canning funnel makes the filling step much easier. Fill the jars, leaving about 1-inch of space near the top, so the contents have room to expand during processing. The amount of "headspace" you need depends upon the recipe, so be sure to follow directions and do your research depending on the produce you are canning.
- When you jars are filled, remove air bubbles with a knife, and wipe the top of the jars with vinegar to further steralise the glass.
- Place the warm lids onto the rims and screw the rings firmly into place.
Processing
- Make sure the water level in the kettle will fully cover the tops of the jars by about 1 inch. Bring the water to a rolling boil and lower the jars into your canner. Boil for at least 15 minutes for jams, jellies, and chutneys. If you are unsure, boil for longer
Final Steps
- Once the processed jars have been removed from the canner, let them sit, undisturbed, for at least an hour. As the jars cool, the lids will become sunken in the center and you may hear a little "pop," indicating the lids have sealed.
- If they don't seal, refrigerate the preserved food or try using another lid and boiling in the canner again.
- Make sure you label your jars with the ingredients and date canned. I use a sharpie which can be removed with alcohol when you come to reusing the jar.